Projects#
A dicehub project is a space where you can find all the things related to a specific problem.
Projects contain applications and can be shared with other users by adding them as members.
Things related to a project on this page:
- Create a project
- Create an application
- Add members to your project
- Remove members from your project
- Change project settings
Create a project#
Projects can be used for work on a specific topic (for example "Car aerodynamics"). In a project you can create applications to solve your simulation problem.
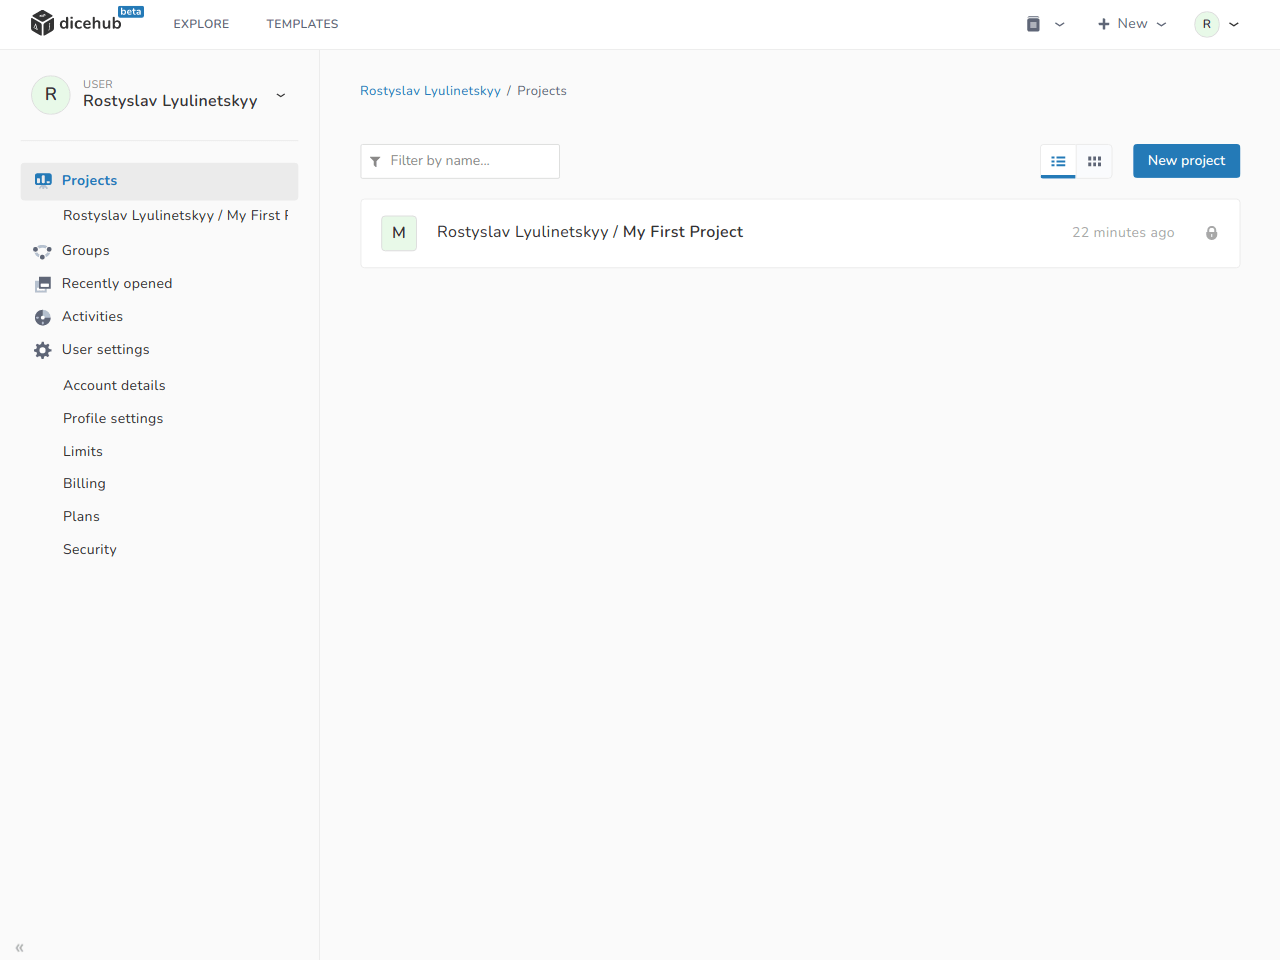
To create a project in dicehub:
- In the left navigation, select Projects.
- Select New Project.
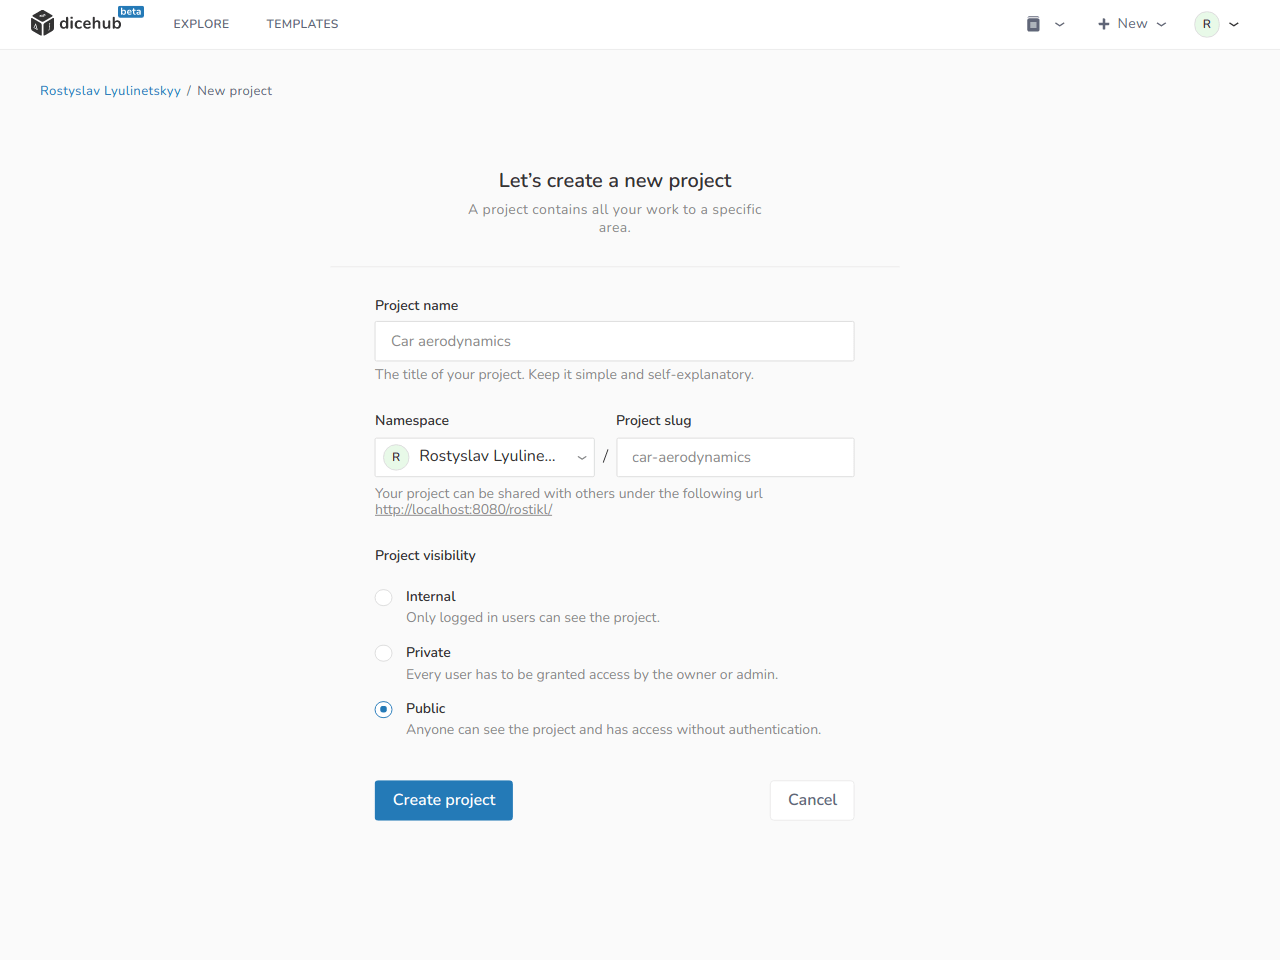
- On the New Project page, edit the following details:
- Project name: This is the name of your project. You can use spaces, hyphens and underscores. Special characters are not allowed.
- Project slug: The slug is used as the path in your project URL. (The project slug is automatically generated when you type in the project name. You can change the slug after you have selected the project name)
- Project visibility: The visibility level determines who can see your project.
- Select Create project.
Create an application#
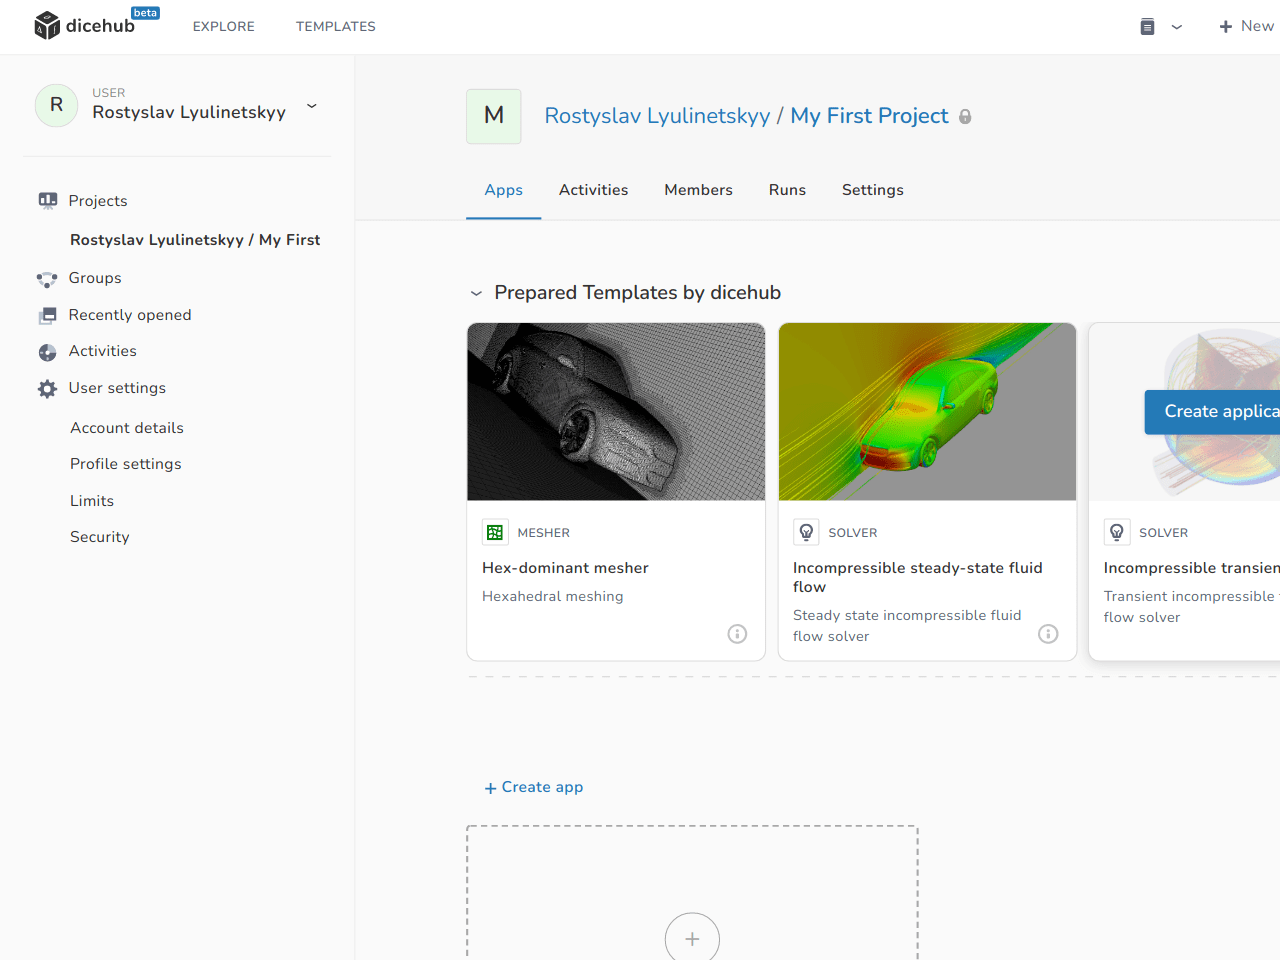
- Open a Project.
- Select New Application.
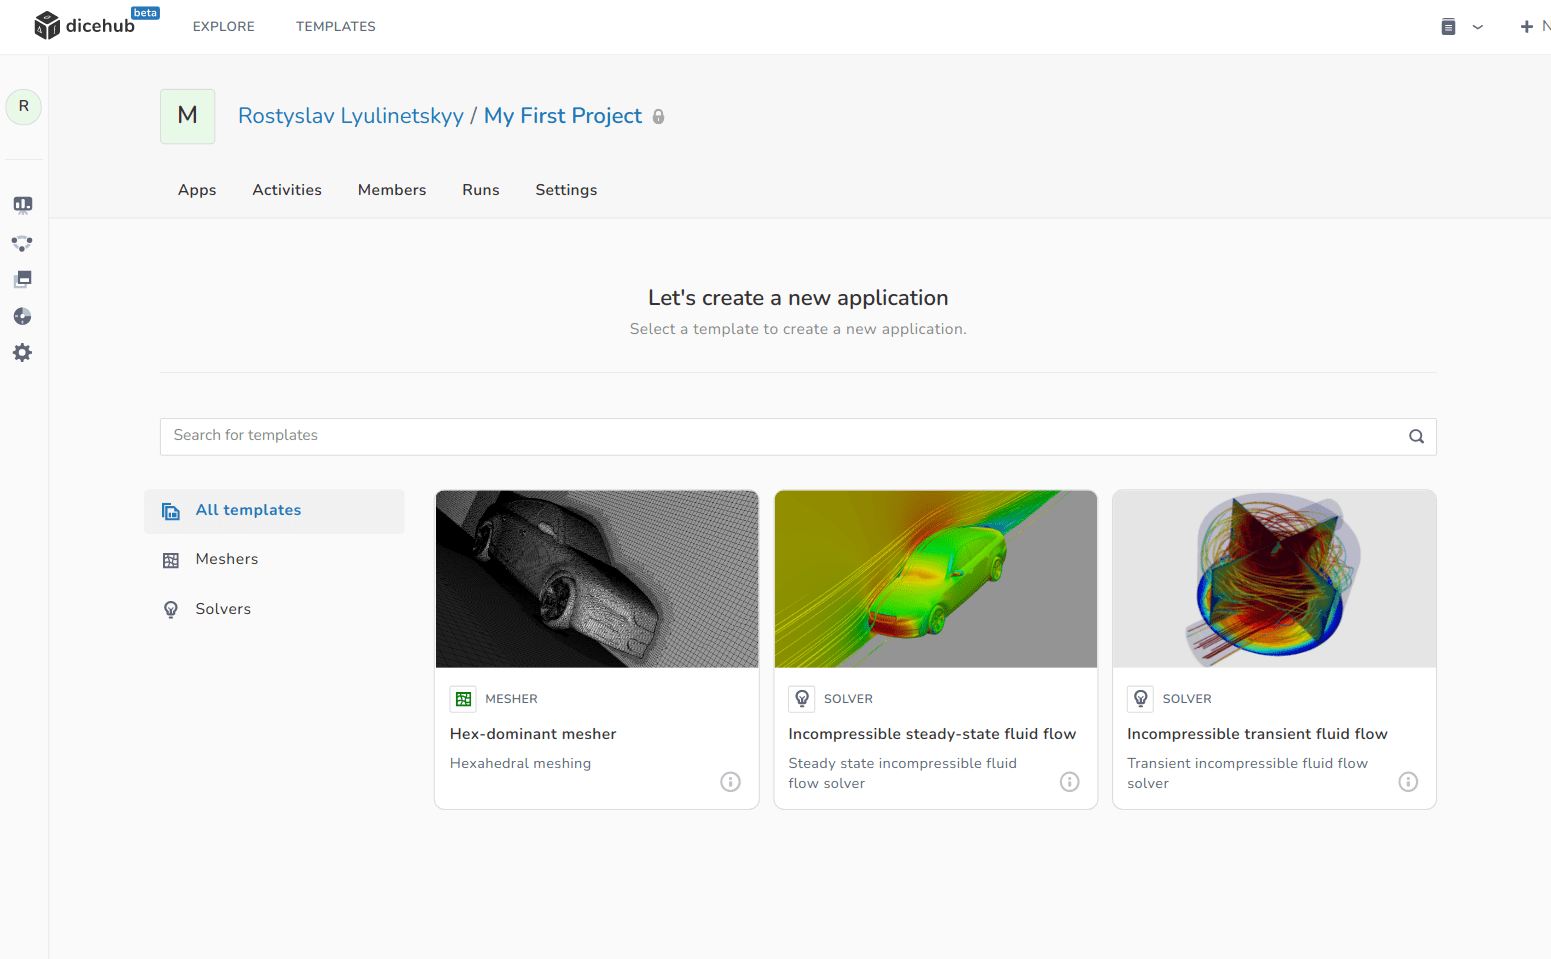
- On the New Applications Page: Select application template.
Add members to your project#
To view, add or remove members in your project, open your project and go to the Members section.
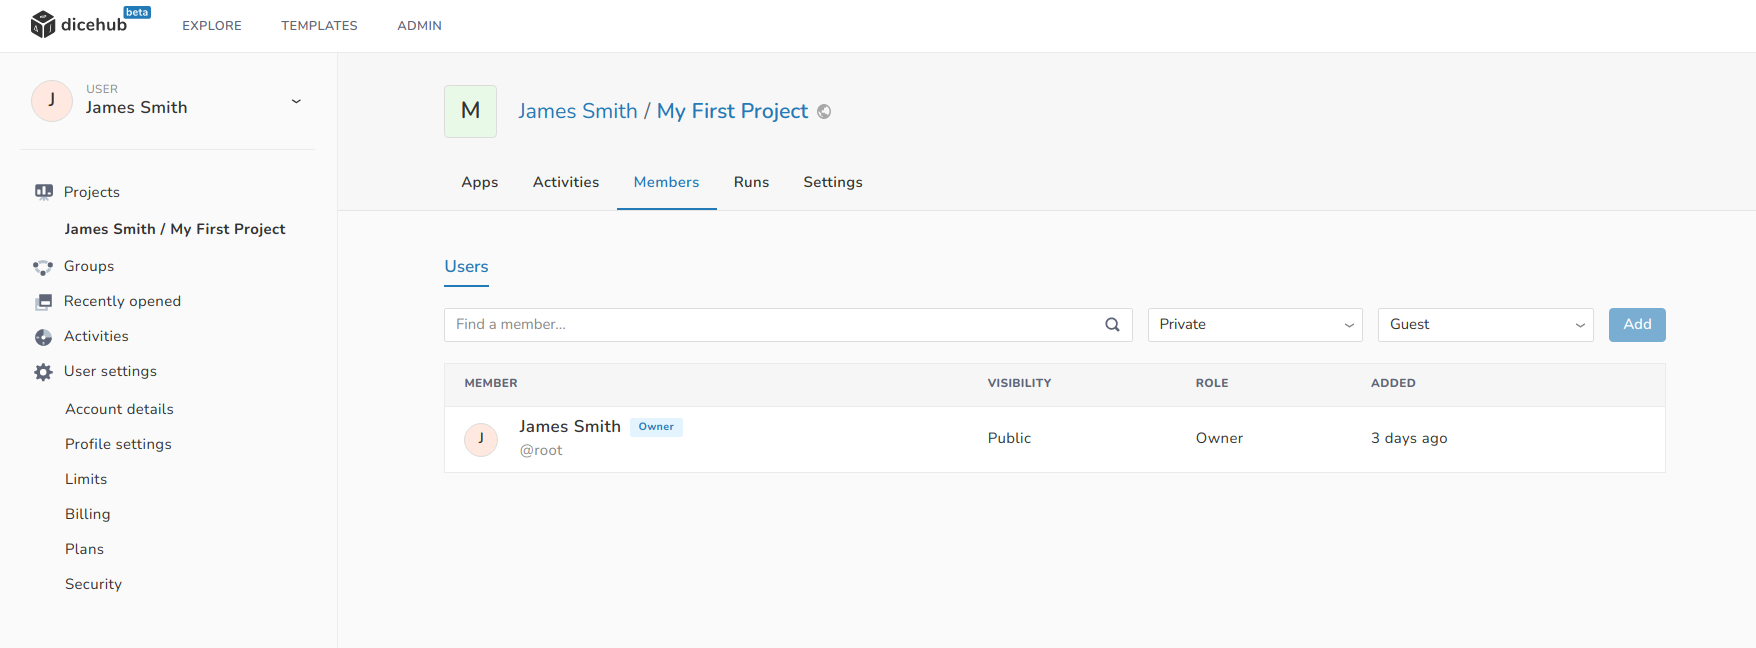
To add a member to the project:
- Go to Project > Members.
- In the input field with the label
Find a membertype the username or email of the person you want to add. - Select the Visibility level and Role.
- Click on Add.
Remove members from your project#
To remove a member from the project:
- Go to Project > Members.
- Click on the Remove button next to the user you would like to remove.
Change project settings#
You can access the project settings by selecting the Settings tab in your project.
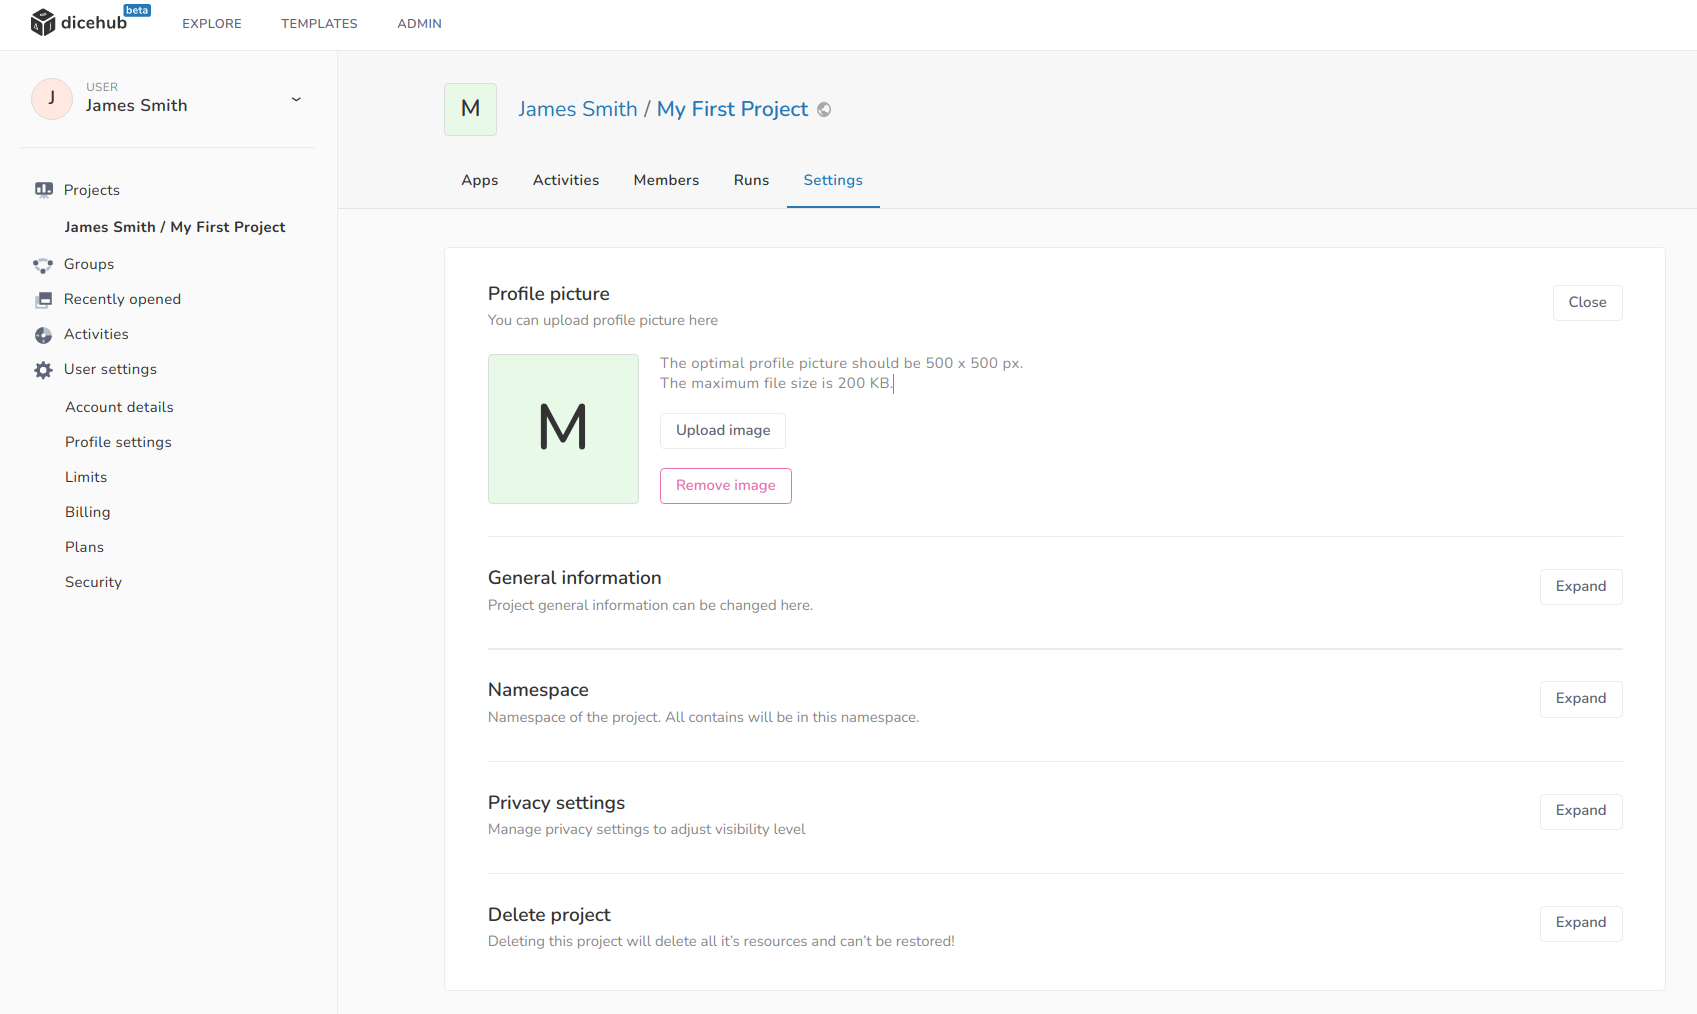
The following settings can be changed:
- Profile picture: The image to identify your project.
- General information: The general information of the project such as title and description can be changed here.
- Namespace: Namespace of the project. All contents of the project are in this namespace.
- Privacy settings: Here you can manage privacy settings by adjusting the visibility level.
- Delete project: Deleting this project deletes all its resources and can not be restored.